How to Defragment Your Hard Drive: Is your Windows PC running slower than usual? One of the most effective ways to improve performance is by defragmenting your hard drive. In this article, we’ll explain what defragmentation is, how it works, and how you can easily defragment your drive to boost speed and efficiency.
What Is Defragmentation?
Over time, as you create, modify, and delete files on your hard drive, your files become fragmented—meaning they are broken into pieces and stored in different locations on the disk. This fragmentation forces your computer to work harder to access files, leading to slower performance.
Defragmentation, or “defragging”, is the process of reorganizing the fragmented data on your hard drive so that files are stored in contiguous sections. This allows Windows to read files more efficiently, improving overall system performance.
Do You Need to Defragment?
Not all drives need defragmentation.
- HDDs (Hard Disk Drives): Yes, defragmenting helps because of the mechanical nature of HDDs.
- SSDs (Solid State Drives): No, defragmenting is unnecessary and even harmful. Windows automatically optimizes SSDs using a different method called TRIM.
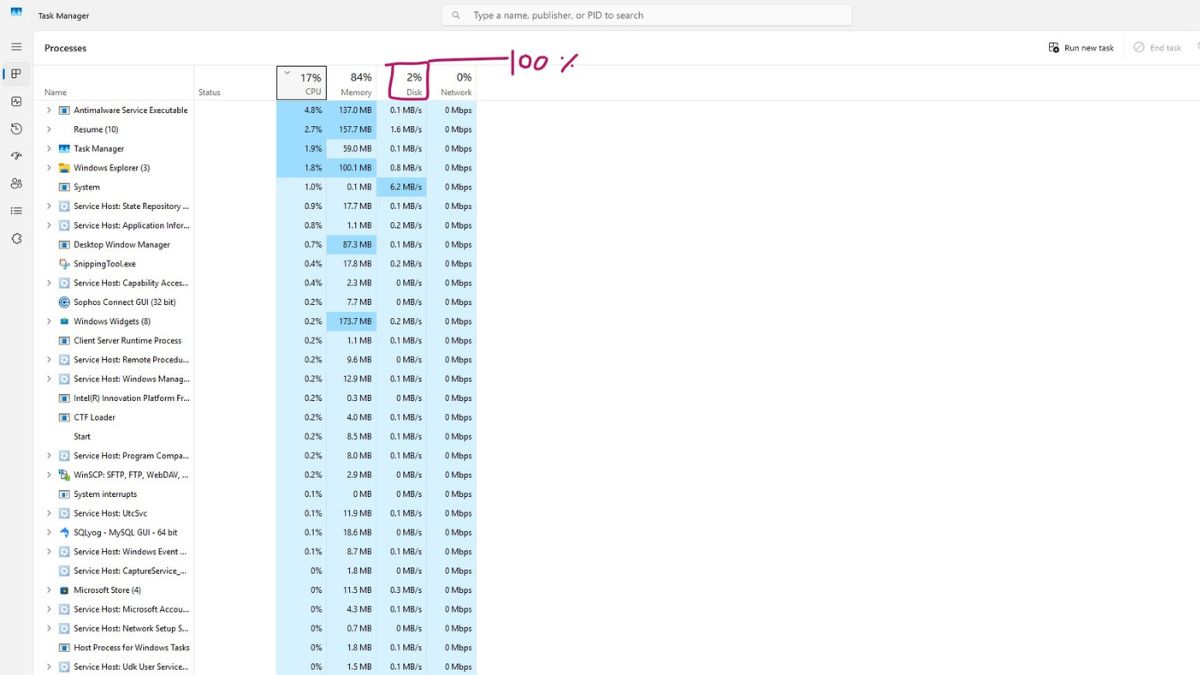
Tip: You can check your drive type by going to
Task Manager > Performance > Disk.
How to Defragment a Hard Drive in Windows 10/11
Here’s a step-by-step guide to defragment your hard disk in Windows:
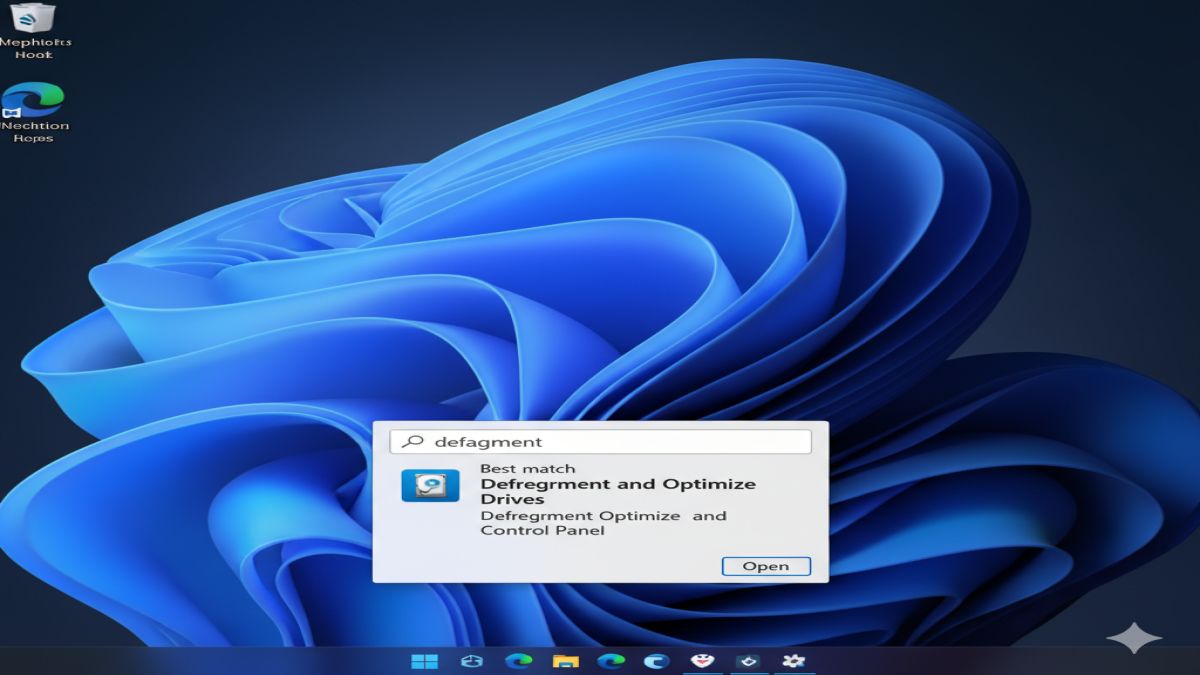
Step 1: Open the Defragmentation Tool
- Press
Windows + Sto open the search bar. - Type “Defragment and Optimize Drives” and click on the result.

Step 2: Select the Drive
- In the Optimize Drives window, select the drive you want to defragment (usually
C:). - Check the Media type to ensure it is an HDD.
Step 3: Analyze the Drive
Click Analyze to see how fragmented your drive is.

- If fragmentation is over 10%, proceed to defragment.
Step 4: Optimize (Defragment)
Click Optimize to begin the defragmentation process.
- This may take a few minutes to an hour depending on drive size and fragmentation.
Automate the Defragmentation
Windows allows you to schedule automatic optimization:
- In the Optimize Drives window, click Change settings.
- Select the frequency (daily, weekly, or monthly).
- Choose the drives you want to include.

Benefits of Defragmenting Your Hard Drive
- ✅ Faster file access
- ✅ Shorter boot times
- ✅ Improved overall performance
- ✅ Extended lifespan of mechanical hard drives
How Defragmentation Impacts SEO and Website Speed (Bonus Tip)
If you’re managing a website from your Windows PC, defragmenting can indirectly help improve your productivity and site management. While it doesn’t directly impact Google SEO, a fast and responsive computer allows you to:
- Edit and upload content more efficiently
- Run local development servers faster
- Use resource-intensive tools like Photoshop, IDEs, or video editors without lag
If you’re working with local files that are part of your web assets (like images or videos), defragmentation can speed up processing and uploading times.
Final Thoughts
Regularly defragmenting your hard disk is a simple yet powerful way to keep your Windows PC running at its best. It’s especially useful for users with older machines or those who frequently work with large files.
If you’re serious about improving your system speed and maintaining your computer’s health, schedule regular defrags and keep an eye on drive performance
Frequently Asked Questions (FAQs)
Q1: How often should I defragment my hard drive?
A: Once a month is generally sufficient for most users.
Q2: Will defragmenting delete my files?
A: No, defragmentation does not delete any data. It simply reorganizes files.
Q3: Should I defragment SSDs?
A: No. SSDs do not benefit from defragmentation and should be optimized using Windows’ built-in SSD tools.